
my 89 GT "back in the day" street / track day project build


Well, with the nice weather here I'm feeling a bit more motivated to get moving on this. Soon it will be mid-April, and the local track events will be starting up. When you have a bunch of nice clean parts to go with, it makes the work go a lot easier!
cheers
Ed
cheers
Ed
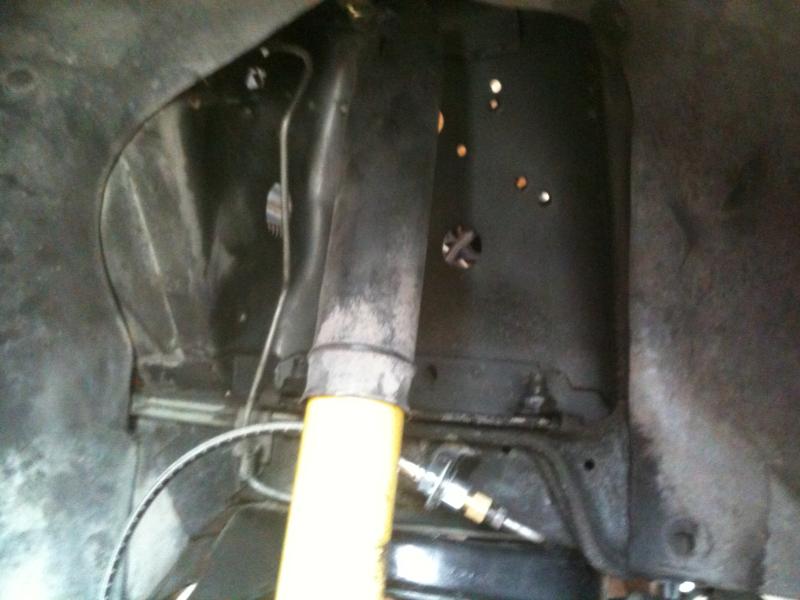
Did a little bit on the car this afternoon when my buddy Rob came over for a few hours. He had the suggestion that we should check the dimensions of the chassis, to make sure it wasn't so messed up that all the work I was doing wasn't for naught, and also to check the alignment of the new front crossmember before it got completely tightened up in place. We hadn't seen any indications of structural damage or repairs during the teardown, so I was pretty confident that the car was as good as a production Fox could be.
So we had grabbed a couple of 5 oz. plumb bobs and some string from Home Depot earlier in the day to use for the reference points. Basically we just followed the info on the MM site, using the control arm mounting points to measure from.
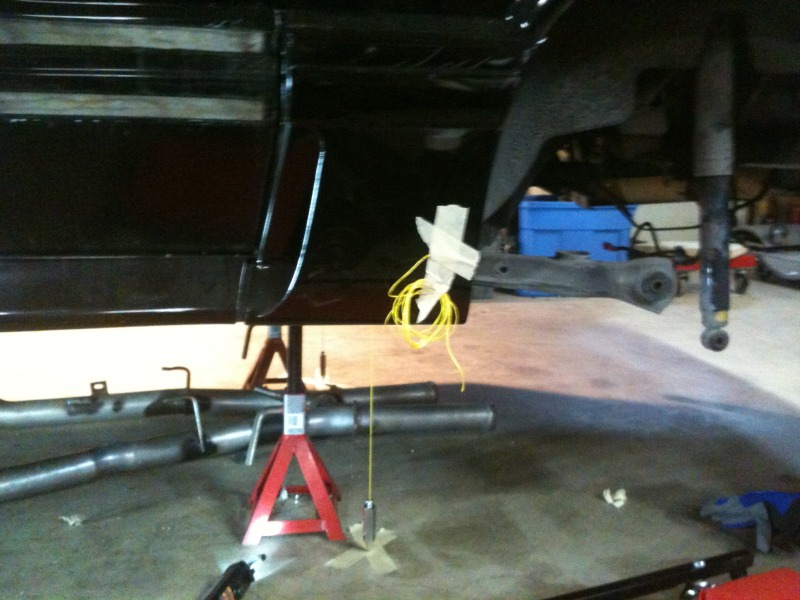
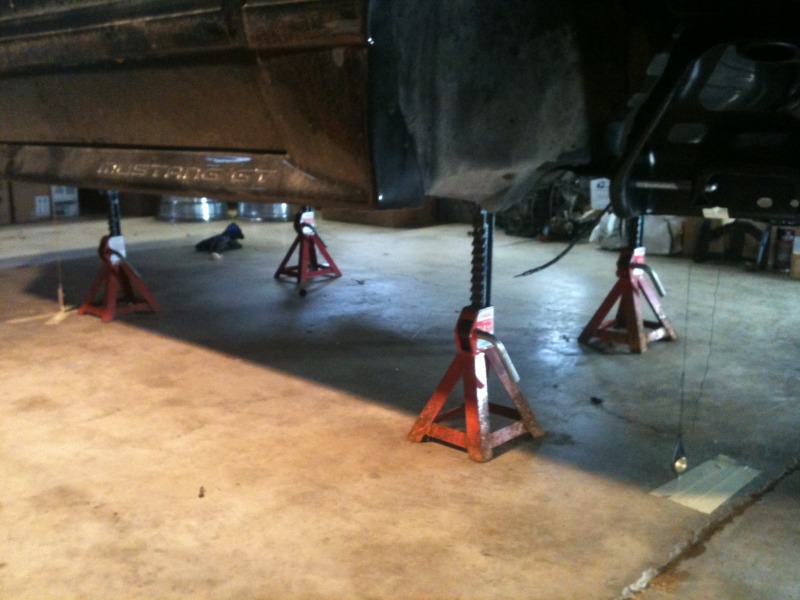
Long and short of it, the car was pretty much bang on for the front to rear measurements on each side. When we checked diagonally front to rear, it was off by about 1/16" ... not really enough to try messing with the crossmember, and risk messing it up even worse. Didn't take too long, it was time well spent to confirm that the chassis was true. We also managed to get the original hard line disconnected from the remnant of the brake flex hose on the right front. This one had been stubborn, I had ended up just cutting through the rubber hose when dropping the original crossmember and suspension out last weekend.
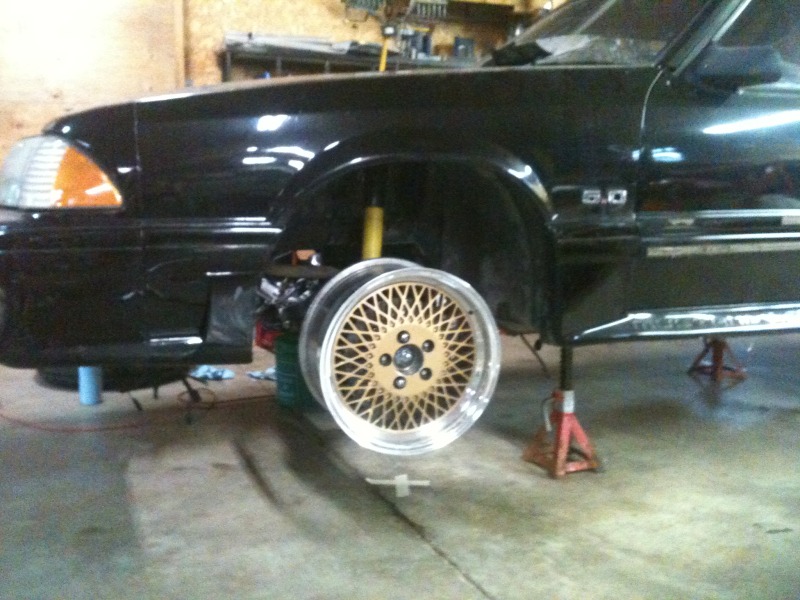
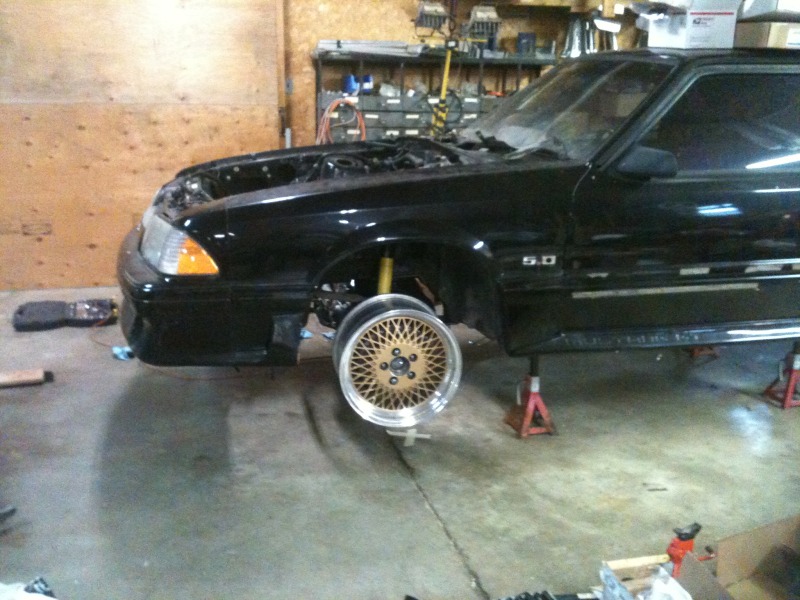
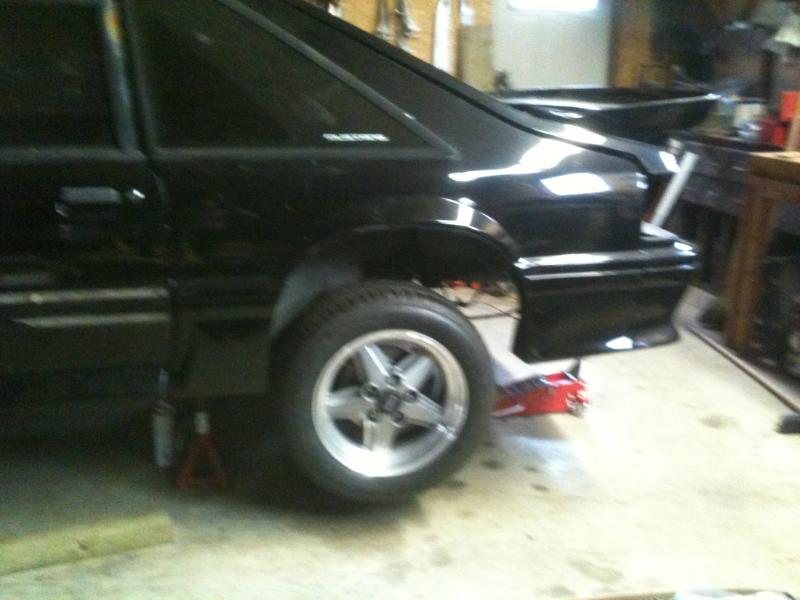
And for a bit more inspiration, tried one of the gold mesh 8" Saleen wheels on the front, these are what I will be using for the track rubber. It's the 80s all over again!
Tomorrow afternoon I want to get back on it a bit more, should be able to get the front suspension put together and fiddle with some of the miscellaneous items on the to-do list.
cheers
Ed
So we had grabbed a couple of 5 oz. plumb bobs and some string from Home Depot earlier in the day to use for the reference points. Basically we just followed the info on the MM site, using the control arm mounting points to measure from.
Long and short of it, the car was pretty much bang on for the front to rear measurements on each side. When we checked diagonally front to rear, it was off by about 1/16" ... not really enough to try messing with the crossmember, and risk messing it up even worse. Didn't take too long, it was time well spent to confirm that the chassis was true. We also managed to get the original hard line disconnected from the remnant of the brake flex hose on the right front. This one had been stubborn, I had ended up just cutting through the rubber hose when dropping the original crossmember and suspension out last weekend.
And for a bit more inspiration, tried one of the gold mesh 8" Saleen wheels on the front, these are what I will be using for the track rubber. It's the 80s all over again!
Tomorrow afternoon I want to get back on it a bit more, should be able to get the front suspension put together and fiddle with some of the miscellaneous items on the to-do list.
cheers
Ed
Crossmember is a stock unit that was redone by Slot Car Mustang in the early 90s, before the tubular stuff was available. Basically all the tricks shown in the Mustang Performance 2 Handbook applied to it.
cheers
Ed
cheers
Ed
Lighter, can be made stronger if done properly, and easier to put the geometry where you want it rather than modifying the original unit. But it's also pretty obvious when you peek underneath. The goal with this car is to be very low key, have it look like a very mild lowered Fox with 5-lug discs, and not much else.
cheers
Ed
cheers
Ed
Well, the past few weeks have been tough due to reasons I don't need to disclose here, so I didn't get back to the car until today. My friends Stu Kynoch and Rob Lawson dropped by to assist, it was great to have them both here to do some wrenching.
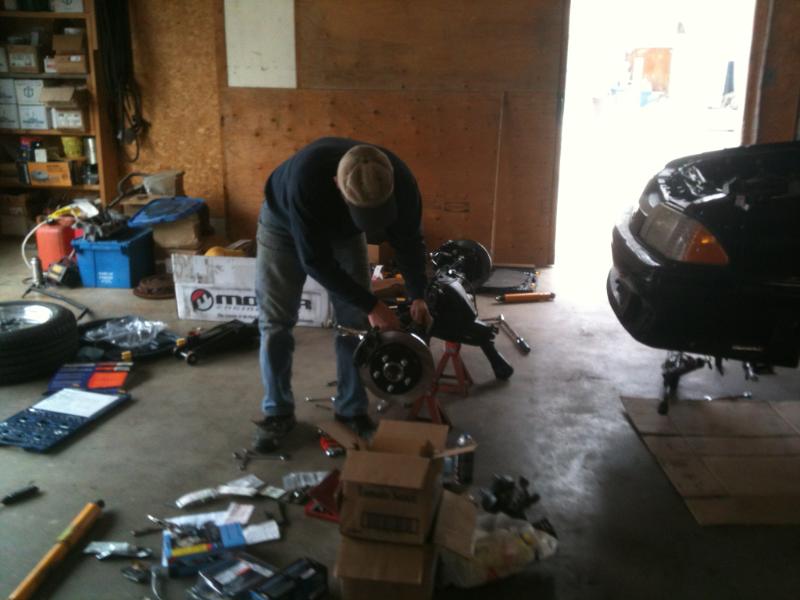
Here's Stu working away at the rear brake lines. We needed to shorten the original Fox hard lines to mate up with the SN95 disc flex hoses. I was going to use the adapter fittings that I had got from Maximum Motorsports, but figured that if we had to cut the lines anyway, might as well get the proper size fittings before doing the new double flares. Stu even remembered to put the nuts on the lines before he made the flares! LOL The MM fittings can be used at the connection along the right side of the firewall where the adjustable prop valve will go in.
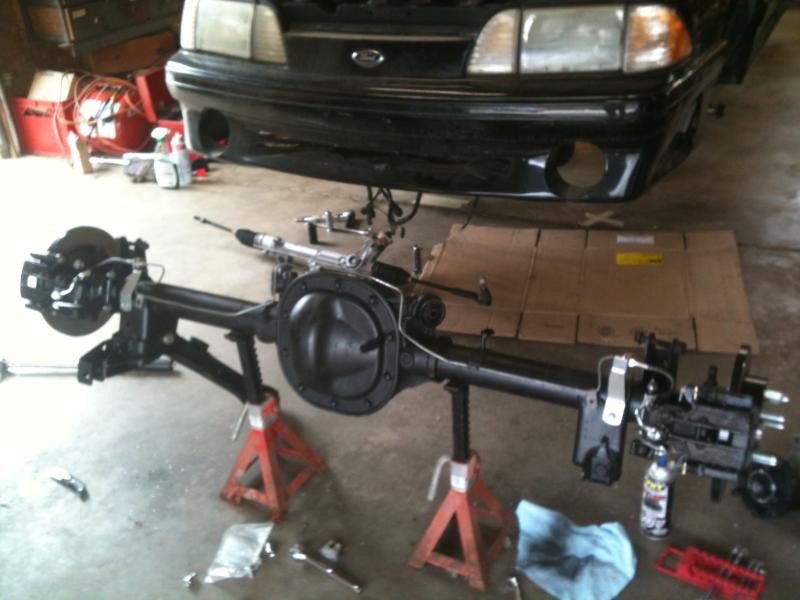
Rear axle assembly all put together, and ready to go under the car ... a nice tidy job on the lines by Stu:
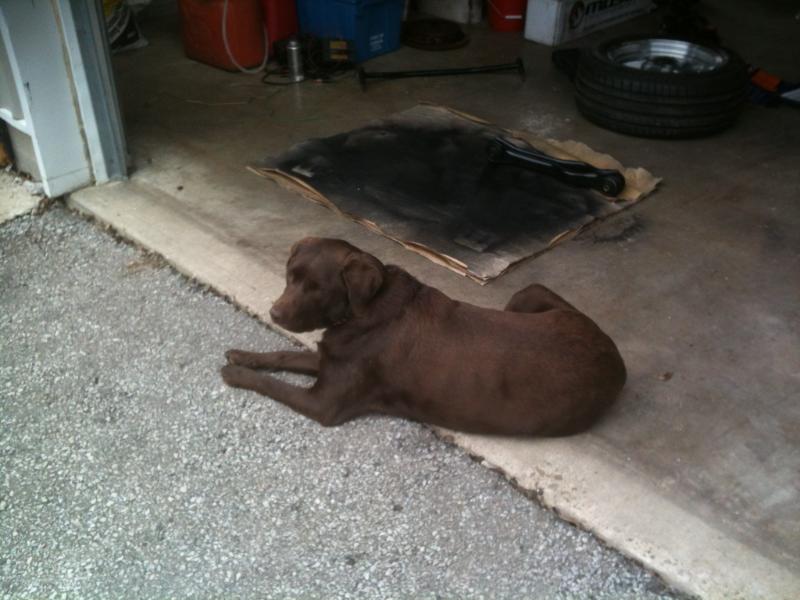
Stu brought along his beautiful 3 year old chocolate lab Daisy, she acted as official shop dog for the day:
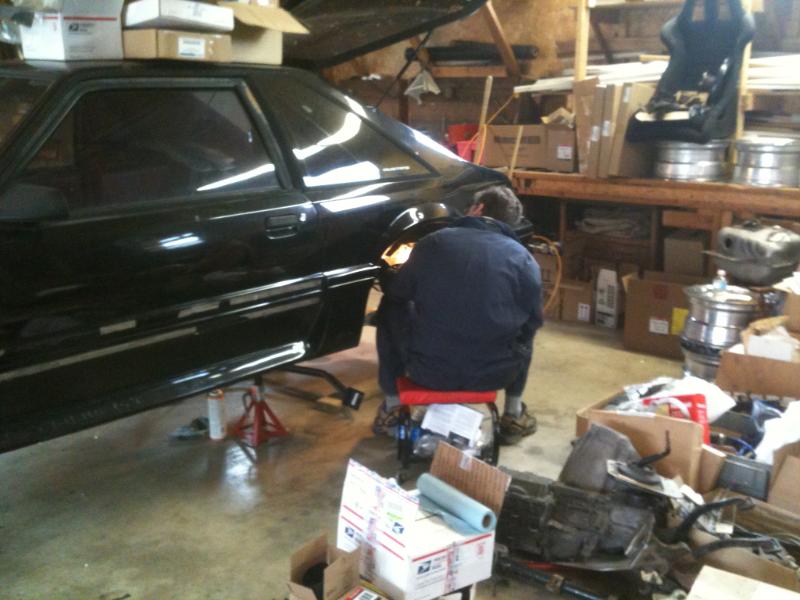
I put Rob to work at the back of the car, here he is mocking up the MM panhard bar to mark the holes to be drilled:
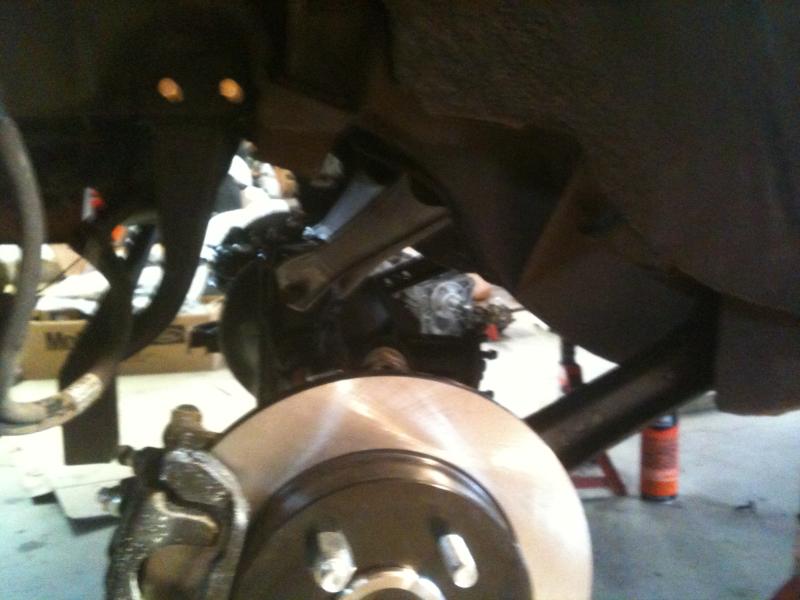
In the meantime I was fiddling around with some stuff at the front of the car, Rob had the bright idea to use the sleeves off the original rear shocks as dust boots for the Bilstein front struts, they are a perfect fit, and don't interfere with the underside of the upper mount like the SN95 strut boots I was trying to use initially.
Rob got the panhard bar roughed in, then had to head home to look after his critters. So Stu and I rolled the axle assembly on some wheel dollies to the back of the car, and started to put it in to place:
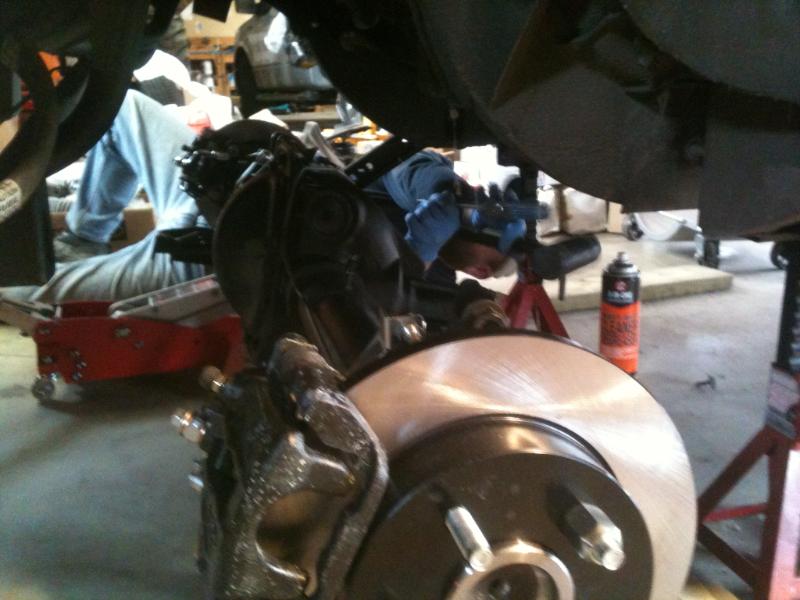
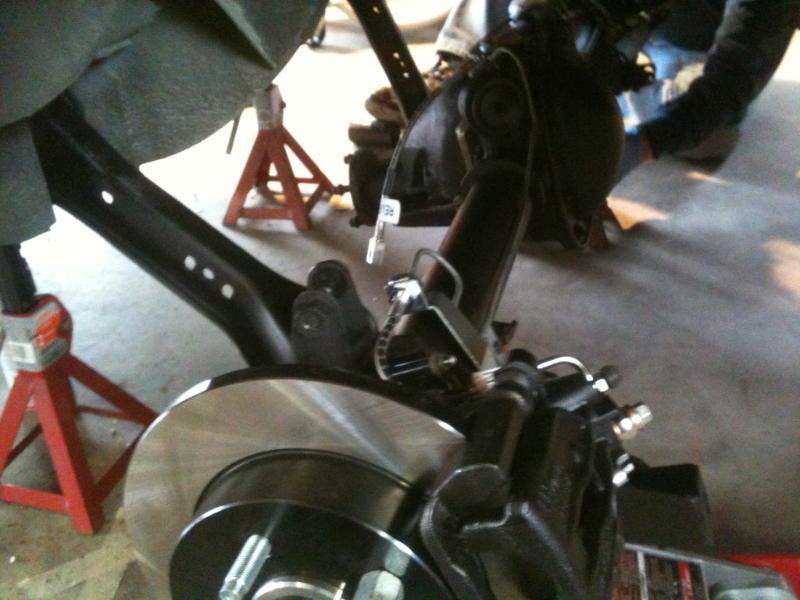
For now it is in loosely, using an old set of Mustang SVO lower control arms (round front bushing instead of the big squishy oval bushing the later Foxes used) with Energy Suspension urethane bushings, and a pair of the Ford Racing upper arms.
As usual, I had to bolt a wheel on to get a look at it ... hangs pretty low of course with no shocks to limit the travel:
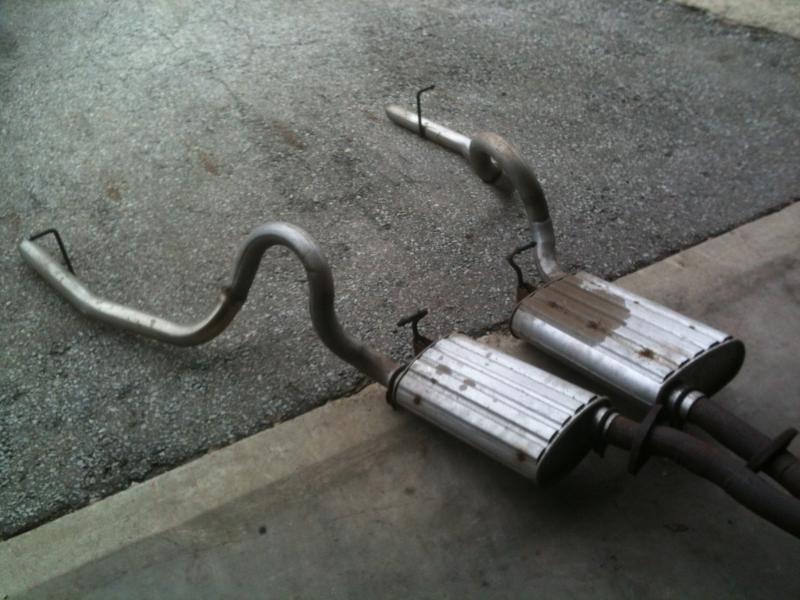
A friend gave me a barely used Walker cat-back system, it just has OE replacement mufflers, so I will get those swapped out for the Dynomax mufflers I have waiting. This is an older 2-1/4" system with the polished LX style tips, no longer available in that size from Walker. I purposely wanted the 2-1/4" to keep the sound level down a bit, and because that was all you could get until about 1992 or so.
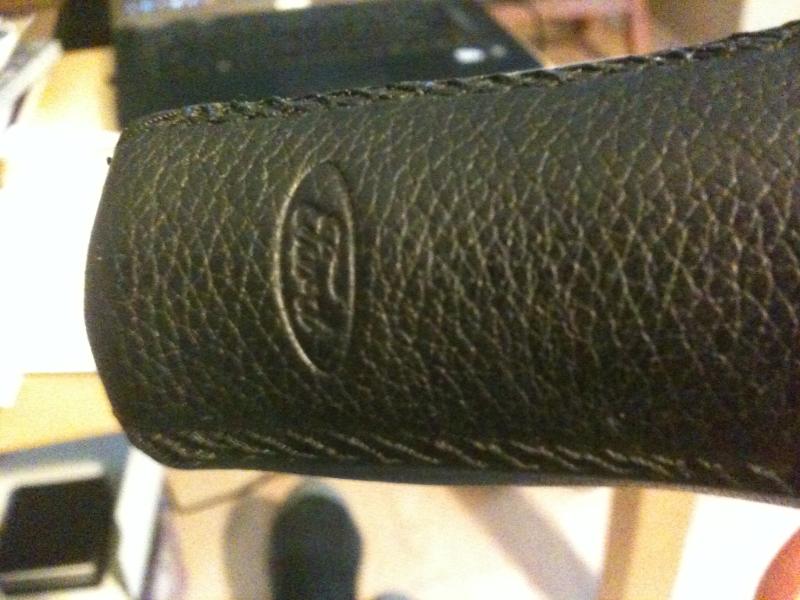
And finally, another recent score off the Corral classifieds, a nice condition old school Ford Motorsport M-7213-A leather shift **** for $40.
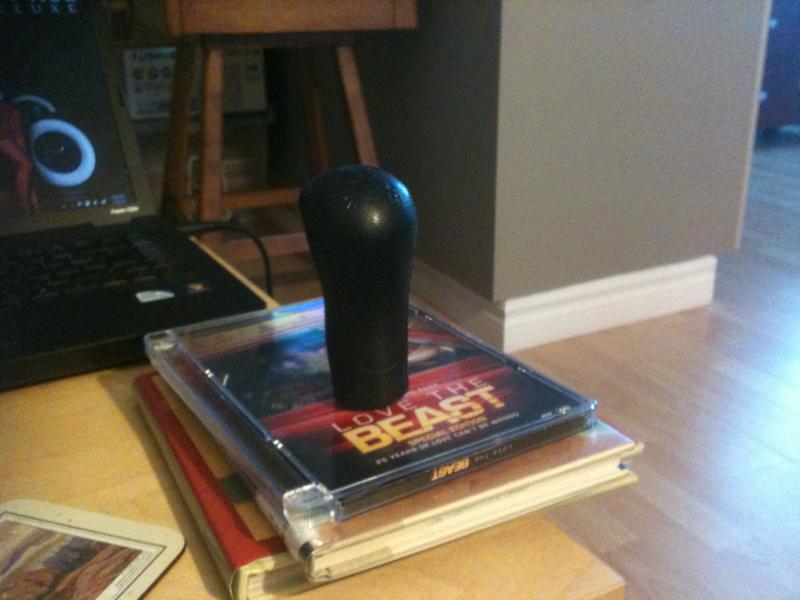
These were similar to the original Mustang SVO *****, but with a little Ford oval logo on it. A bit of nostalgia for me, because I had the same one on my 87 years ago.
So a bit more progress, but I can't really do a proper full assembly on the front suspension until the engine is in place ... I get the feeling that if I try to position the 1000 lb. springs with a floor jack under the control arms and an empty engine bay, it will only lift the car off the jack stands. The engine needs to have a few more external bits put on before it is ready to drop in. Stu has a MIG welder that he can bring down, we have a 220A outlet in this shop, but at the opposite end to where the car is ... so we might try to roll it over to that area to be able to do a bit of seam welding of the chassis before everything gets bolted in.
cheers
Ed
Here's Stu working away at the rear brake lines. We needed to shorten the original Fox hard lines to mate up with the SN95 disc flex hoses. I was going to use the adapter fittings that I had got from Maximum Motorsports, but figured that if we had to cut the lines anyway, might as well get the proper size fittings before doing the new double flares. Stu even remembered to put the nuts on the lines before he made the flares! LOL The MM fittings can be used at the connection along the right side of the firewall where the adjustable prop valve will go in.
Rear axle assembly all put together, and ready to go under the car ... a nice tidy job on the lines by Stu:
Stu brought along his beautiful 3 year old chocolate lab Daisy, she acted as official shop dog for the day:
I put Rob to work at the back of the car, here he is mocking up the MM panhard bar to mark the holes to be drilled:
In the meantime I was fiddling around with some stuff at the front of the car, Rob had the bright idea to use the sleeves off the original rear shocks as dust boots for the Bilstein front struts, they are a perfect fit, and don't interfere with the underside of the upper mount like the SN95 strut boots I was trying to use initially.
Rob got the panhard bar roughed in, then had to head home to look after his critters. So Stu and I rolled the axle assembly on some wheel dollies to the back of the car, and started to put it in to place:
For now it is in loosely, using an old set of Mustang SVO lower control arms (round front bushing instead of the big squishy oval bushing the later Foxes used) with Energy Suspension urethane bushings, and a pair of the Ford Racing upper arms.
As usual, I had to bolt a wheel on to get a look at it ... hangs pretty low of course with no shocks to limit the travel:
A friend gave me a barely used Walker cat-back system, it just has OE replacement mufflers, so I will get those swapped out for the Dynomax mufflers I have waiting. This is an older 2-1/4" system with the polished LX style tips, no longer available in that size from Walker. I purposely wanted the 2-1/4" to keep the sound level down a bit, and because that was all you could get until about 1992 or so.
And finally, another recent score off the Corral classifieds, a nice condition old school Ford Motorsport M-7213-A leather shift **** for $40.
These were similar to the original Mustang SVO *****, but with a little Ford oval logo on it. A bit of nostalgia for me, because I had the same one on my 87 years ago.
So a bit more progress, but I can't really do a proper full assembly on the front suspension until the engine is in place ... I get the feeling that if I try to position the 1000 lb. springs with a floor jack under the control arms and an empty engine bay, it will only lift the car off the jack stands. The engine needs to have a few more external bits put on before it is ready to drop in. Stu has a MIG welder that he can bring down, we have a 220A outlet in this shop, but at the opposite end to where the car is ... so we might try to roll it over to that area to be able to do a bit of seam welding of the chassis before everything gets bolted in.
cheers
Ed


